The Ultimate Guide to Seamless Hardwood Floor Installation
Installing hardwood floors can transform the look and feel of your home. With the right planning and preparation, you can have beautiful new wood floors installed seamlessly. This ultimate guide covers everything you need to know for a smooth hardwood floor installation process.
Choosing Your Wood Type
The first big decision is what type of wood to use. The most popular options include:
Oak
This classic hardwood comes in red and white varieties. Red oak is the most common choice. It has a distinctive grain pattern and resists wear and scratches well. White oak has a more uniform look and subtle grain. Both types add warmth and value.
Maple
Known for its clean, uniform appearance, hard maple resists wear better than other species. It has fine markings from light tan to reddish-brown. Maple costs more than oak but imparts a contemporary, stylish look.
Exotic Woods
If you want something more unique, consider exotic woods like Brazilian cherry, acacia, Santos mahogany or African mahogany. They make distinctive design statements but cost more than domestic woods.
Factor in color, grain patterns, hardness, and overall look to select the right species for your vision and lifestyle. Your installer can advise on the best woods for your home.
Deciding on Grade and Finish
Wood flooring comes in a variety of grades and finishes. These factors affect the floor’s appearance, performance and price.
Grade
The grade indicates the amount of natural grain variations and markings in the flooring. Higher grades have more variation in color and grain pattern visibility. Lower grades have a more uniform appearance.
Common grades include:
- Clear: Very few knots or character marks
- Select: Minimal natural features and color variation
- #1 Common: Some natural imperfections allowed
- #2 Common: More color variation and knots
Higher grades show more natural wood character but cost more and don’t withstand scratches as well. Lower grades provide budget-friendly options with more consistency.
Finish
The finish affects maintenance needs, durability and shine level. Common options include:
- Unfinished: No final coating applied, sanded smooth. Requires site finishing after installation.
- UV-cured urethane: Extremely durable factory finish cured with UV light. Resilient to wear and scratching.
- Aluminum oxide: Hardened resin finish applied in factory. Withstands traffic well.
- Acrylic impregnated: Acrylic resin infused into top wood layers for protection. Low-sheen, natural appearance.
Consider traffic levels and desired aesthetics when choosing a finish. Your installer can explain the pros and cons of each.
Getting Proper Hardwood Acclimation
It’s crucial to properly acclimate hardwood before installation. This adjusts the moisture content of the boards to normal living conditions.
The National Wood Flooring Association recommends acclimating boards for as long as possible before installation, no less than five days. Follow these ideal acclimation steps:
Climate Control
Keep temperatures between 60-80 degrees Fahrenheit with relative humidity around 35-55 percent in the installation areas for at least 14 days beforehand. Maintain these conditions after installing, too.
Break Seal on Packages
As soon as flooring is delivered, cut open the plastic packaging so boards can adjust moisture content. Stack boxes neatly and evenly spaced. Never store directly on concrete.
Allow Plenty of Adjustment Time
Leave boards in their packages, stacked as described for a minimum of 72 hours. Longer is better, up to two weeks if possible. This gives the wood sufficient time to acclimate and reduces expansion/contraction issues later.
With proper acclimation beforehand, your beautiful new hardwood flooring will maintain better stability and last for years after professional installation.
Choosing Underlayment
Underlayment goes under the hardwood planks to smooth minor subfloor imperfections and provide sound and moisture insulation. Consider these common underlayment options:
Felt Paper
A budget-friendly choice, 15-30 lb. felt paper offers basic sound and moisture blocking. It works better over less uneven subfloors and may require adhesives during installation.
Cork
Praised for its natural sound-proofing abilities, cork also resists mold and mildew growth. It offers soothing comfort underfoot but requires adhesives for stability. Prone to breakage during installation.
Rubber
Rubber under layments excel at sound absorption and shock resistance. They reduce foot and furniture noises well. Limitations include potential mold issues and moveability if not glued down properly during installation.
Synthetic Foam
Easy to install options like Ultra bar provide affordable sound blocking. Made from recycled scrap foam, Ultra bar resists mold and mildew while allowing floors to breathe naturally. Requires no adhesives or fasteners in most cases.
Discuss options with your installer to choose appropriate underlayment for your subfloor conditions. They can ensure proper preparation for best hardwood floor installation success.
Preparing Your Subfloors Properly
Smooth, structurally sound subflooring ensures quieter, more stable hardwood floor installations. Follow these tips to prepare different subfloor types:
Concrete
Concrete must cure at least 60 days and pass moisture testing before wood flooring installation per NWFA guidelines. Level any uneven areas with a self-leveling compound. Clean thoroughly.
Plywood
Overlay plywood subfloors with minimum 5/8” CDX grade. Fasten every 6” along panel edges and every 12” throughout panels. Fill joints with patching compounds for smoother finish.
OSB
OSB offers structural stability but surfaces are vulnerable to moisture damage. Glue and screw panels instead of nailing. Sand seams, patch imperfections, prime before installing floors.
Check for squeaks or unstable areas; refasten subfloor as needed. Discuss specific subfloor prep needs with your professional installer for best results.
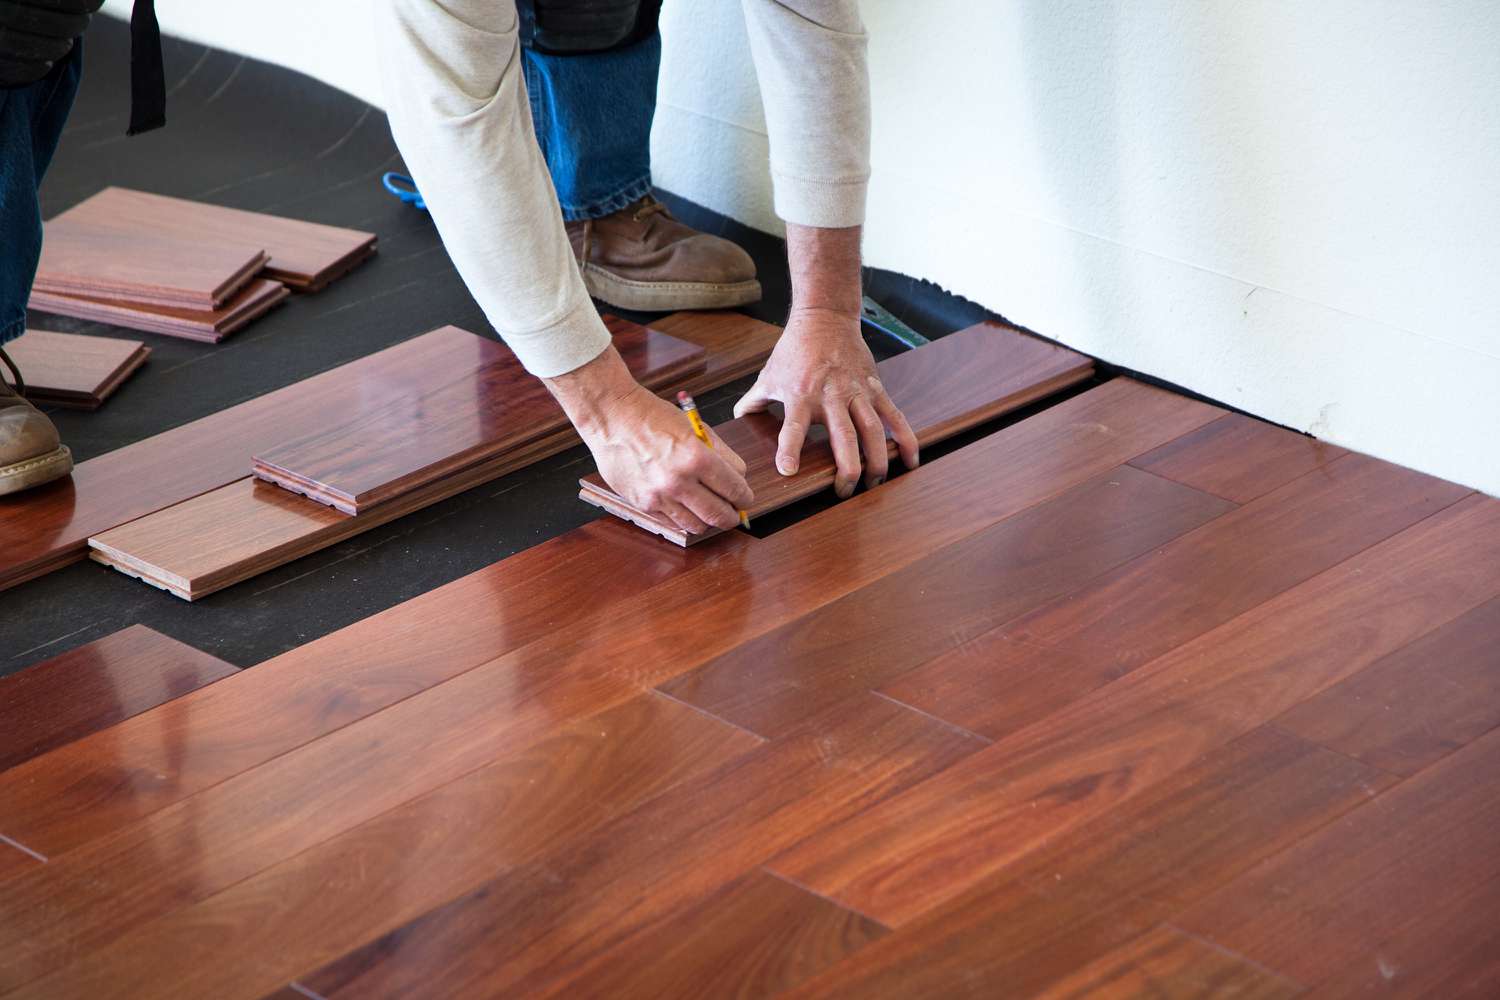
Hiring a Pro Hardwood Flooring Installer
Beautiful, long-lasting hardwood flooring installations require skilled craftsmanship. Hiring professional installers ensures your investment realizes its full potential.
See examples of a contractor’s previous work when possible. Ask about their experience with your particular flooring choice and site conditions. Clear communication also minimizes hiccups. Discuss special needs like removing old flooring or appliances beforehand.
Many homeowners choose qualified NWFA certified pros. Companies display the NWFA member logo and individual installers carry certification cards indicating their specialized training. NWFA continuing education requirements and ethical standards offer reassuring peace of mind.
While DIY installations seem tempting, floors represent big investments. Professional jobs deliver better performance and enjoyment for years rather than quick frustration and repairs later.
Caring Properly for Hardwood Floors
Keep your floors looking pristine by following best practices for cleaning and maintenance:
Allow Floors Time to Cure
Water-based finishes require two weeks, oil-based a month to fully cure and harden after installation. Avoid washing or rearrange heavy furniture during this time. Consider temporary covering to keep dirt or dust away.
Sweep, Don’t Wet Mop
Regular sweeping keeps gritty debris from abrasively dulling floors. Wet mop only when necessary with approved cleaners formulated for hardwood. Excessive moisture causes permanent swelling damage to flooring.
Maintain Ideal Conditions
Keep relative humidity around 45-55%. Extreme swings cause wood expansion and contraction that may warp planks or undo seams. Set the thermostat for 60-80 degree temperatures year round.
Wipe Spills When Fresh
Liquid penetrates wood worse the longer it sits. Immediately soak up spills then clean with minimal damp mopping and approved products once fully dried. Harsh cleaners strip protective finishes.
Reapply Protective Finishes
High-traffic areas and older floors benefit from recoating every 3-5 years by professionals. This replaces worn urethane layers before wood underneath is compromised.
By starting right with planning and professional installation tailored precisely for your home, you’ll enjoy seamless hardwood flooring for decades of memories ahead. With some simple care and maintenance, its timeless beauty graces your rooms for generations in comfort and style.