How to Use Studio 5000 to Programme the Micro820 Controller?
How to Use Studio 5000 to Programme the Micro820 Controller?
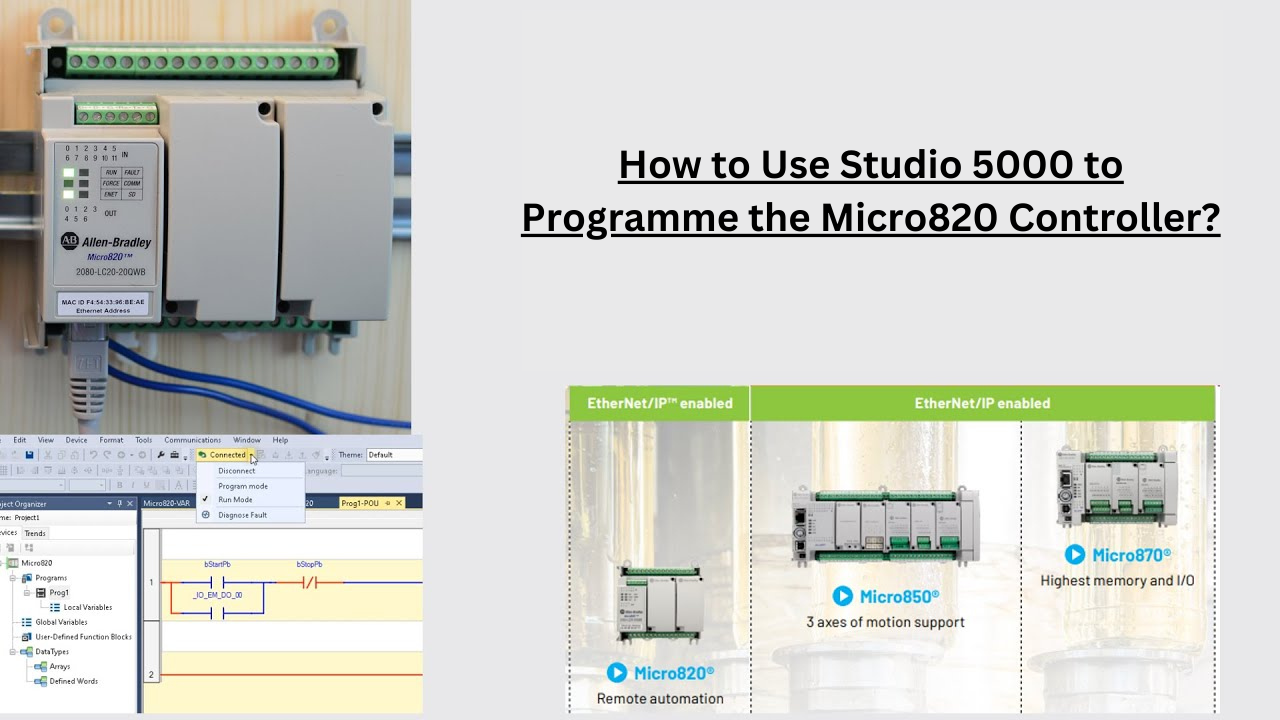
The Micro820 controller may be programmed using Rockwell Automation’s Studio 5000, which is the programming environment for their Allen-Bradley PLCs. Studio 5000 provides a consistent development environment for customising, creating, and maintaining many Allen-Bradley controllers, including the Micro820.
-
Install Studio 5000:
Installing and downloading the Studio 5000 software is available on the Rockwell Automation website. Verify that the version of Studio 5000 you have is compatible with the Micro820 controller.
- Obtain the Software: Visit the Rockwell Automation website to obtain installation media for the Studio 5000 programme, or contact a dealer. Downloading the programme package is another option. Ensure that Studio 5000 is up to date and that it supports both your specific needs and Allen-Bradley PLC models.
-
Create a New Project:
In Studio 5000, make a new project for your Rockwell Automation Micro820 controller. Name, address, and any further project parameters that are required should be included.
- Launch Studio 5000: Open the Studio 5000 software on your PC. You can often locate any shortcuts that were created during the installation process on your desktop or in the Start menu.
- Create a New Project: In the Studio 5000 main window, click “New Project”; alternatively, select “New” and then “Project” from the “File” menu.
- Project Creation Wizard: This will appear and walk you through the process of starting a new project. To proceed, select “Next”.
- Project Type Selection: From the Project Type selection box, choose the appropriate project type for your PLC. This may be “Application Code Manager” for a project based on libraries or “Controller Organiser” for a new project based on controllers. Once you have chosen the necessary project type, click “Next”.
-
Add Controller:
You may include the Micro820 controller into your project by selecting the appropriate controller model from the device catalogue. Configure the network settings and communication choices, including the controller’s IP address.
- Open Studio 5000: Start your computer’s Studio 5000 software
- Open your Project: Launch the project in which you want to add the controller. You may use the project selection window or choose “Open” from the “File” menu to do this.
- Add a Controller: To add a controller, right-click the “Controllers” folder or the suitable position in the project tree on the left side of the Studio 5000 window. Select “Add New” and then select the appropriate controller type from the list of possible controller types.
-
Configure I/O:
The input and output (I/O) modules of the Micro820 controller need to be set up. Indicate the type and addressing of the I/O modules to match your hardware setup.
- Open your Project: Launch the project where configuration is required for the I/O components. You may use the project selection window or choose “Open” from the “File” menu to do this.
- Locate the Controller: In the project tree on the left side of the Studio 5000 window, expand the folder corresponding to the controller to which the I/O modules are linked. They’ll be listed in the “Controllers” section.
- Configure I/O Modules: Use the context menu by right-clicking the controller or the I/O module folder and selecting “Configure Module(s)” to configure the modules.
Check :- Rockwell Automation 2080-LC50-48QBB Micro820 Programmable Controller
-
Configure Network Communication:
If your Micro820 controller has to interface with other hardware or software, set up the appropriate network communication settings in Studio 5000. This may need setting up Ethernet/IP or other communication protocols, depending on your specific needs.
- Open your Project: Launch the project where the necessary network connectivity configurations need to be made. You may use the project selection window or choose “Open” from the “File” menu to do this.
- Locate the Controller: In the project tree on the left side of the Studio 5000 window, expand the folder for the controller to which you want to apply the network connection settings. They’ll be listed in the “Controllers” section.
- Configure Network Communication: Right-click on the controller and select “Properties” from the context menu.
-
Download and Debug:
Once your programming is ready, download it to the Micro820 controller using Studio 5000. Ethernet and programming cable connections are accessible on the controller. Check that your programme works as intended and use Studio 5000’s debugging and monitoring features to fix any issues that may arise.
-
Commssioning and Operation:
Once programming and testing have been completed successfully, connect your Allen Bradley Micro820 controller to the field devices and turn it on. Observe the controller’s behaviour and make any required modifications to guarantee appropriate functioning.
- Physical Connections: Verify the security and accuracy of all physical connections, such as those to the power source, I/O modules, sensors, actuators, and communication cables.
- Power Up the System: Electricity should now be available to the PLC and any connected devices. Verify that the PLC’s power supply is dependable and functions within the advised voltage range.
- Check Indicators: Pay attention to the status indicators on the PLCs and other equipment. Among the indications are those for power, communication, fault, and I/O status. Verify that the desired state is visible.
- Check I/O Functionality: Verify the associated input and output devices of the PLC are functioning correctly. Test the sensors and actuators to ensure they are appropriately detecting and reacting to signals.
Referring to the Rockwell Automation literature and resources is essential if you want detailed instructions on how to use Studio 5000 to programming the Micro820 controller. Processes and features may vary depending on the firmware and Studio 5000 version loaded on your Micro820 controller.
Asteam Techno Solutions Pvt. Ltd. is a leading and preferred solution provider for all kind of Industrial Automation requirements in the field of Process and Power Automation. Established in 2017, Asteam Techno Solutions is an ISO 9001: 2015 certified company, having its Design, Manufacturing & Repair facility located in Surat, Gujarat, India and provides total integration under one roof.